Docupass identity validation and remote signature signing using PHP
This page will help you get started with Docupass identity validation and remote signature signing using PHP.
New Version Released
This tutorial utilize an older version of Docupass, a newer version has been released and this tutorial is pending update.
DocuPass is a product offered by ID Analyzer, designed to provide real-time identity verification services. It allows businesses to verify the identities of their customers by scanning and authenticating various forms of identification documents, such as passports, driver's licenses, and identity cards, from countries around the world.
- Phone verification
- Document and face image collection
- Document data analysis
- Biometric verification and authentication
DocuPass also allows you to have your user review and sign legal papers remotely.
Now the question is how is everything will be going to happen?
So it is very simple. By following the below steps you can easily make an identity verification system.
Work Flow

Prerequisites
- Setup VScode with PHP: Install necessary dependencies
- Get IDANALYZER API Key
- Create KYC Profile
- Create Template
- Create DocuPass Link
Get your API key
Create your IDANALYZER account and login. Once you are logged in, you see the dashboard like this:
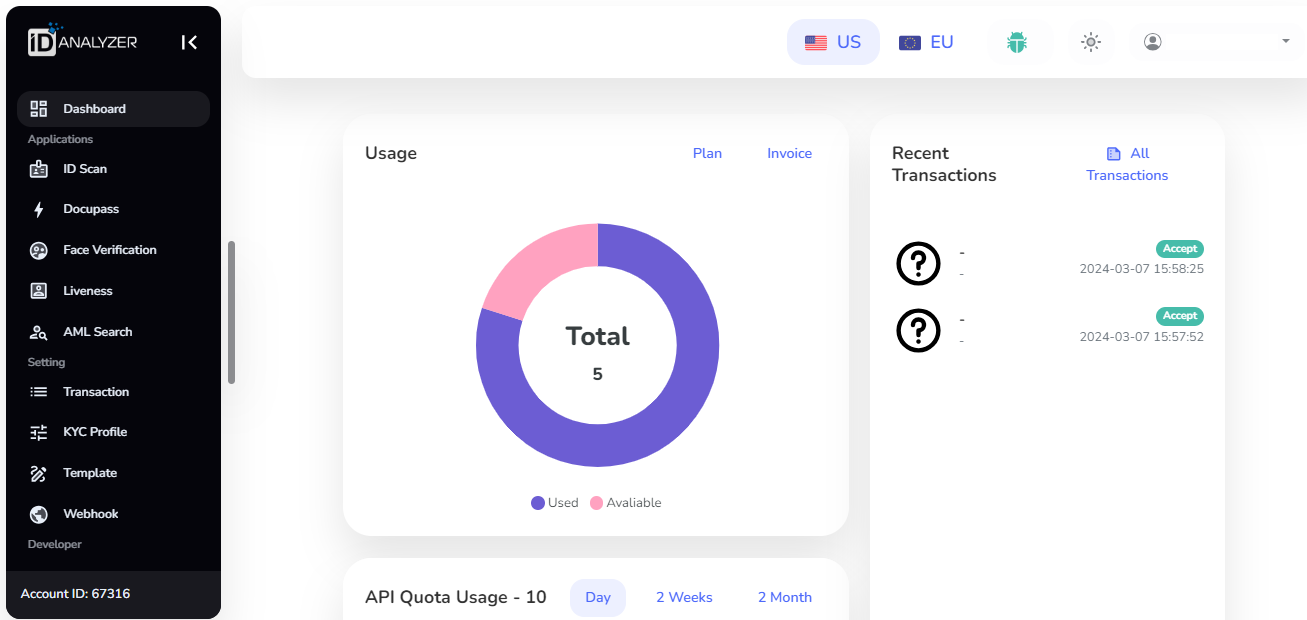
In the left column you can see API credentials.

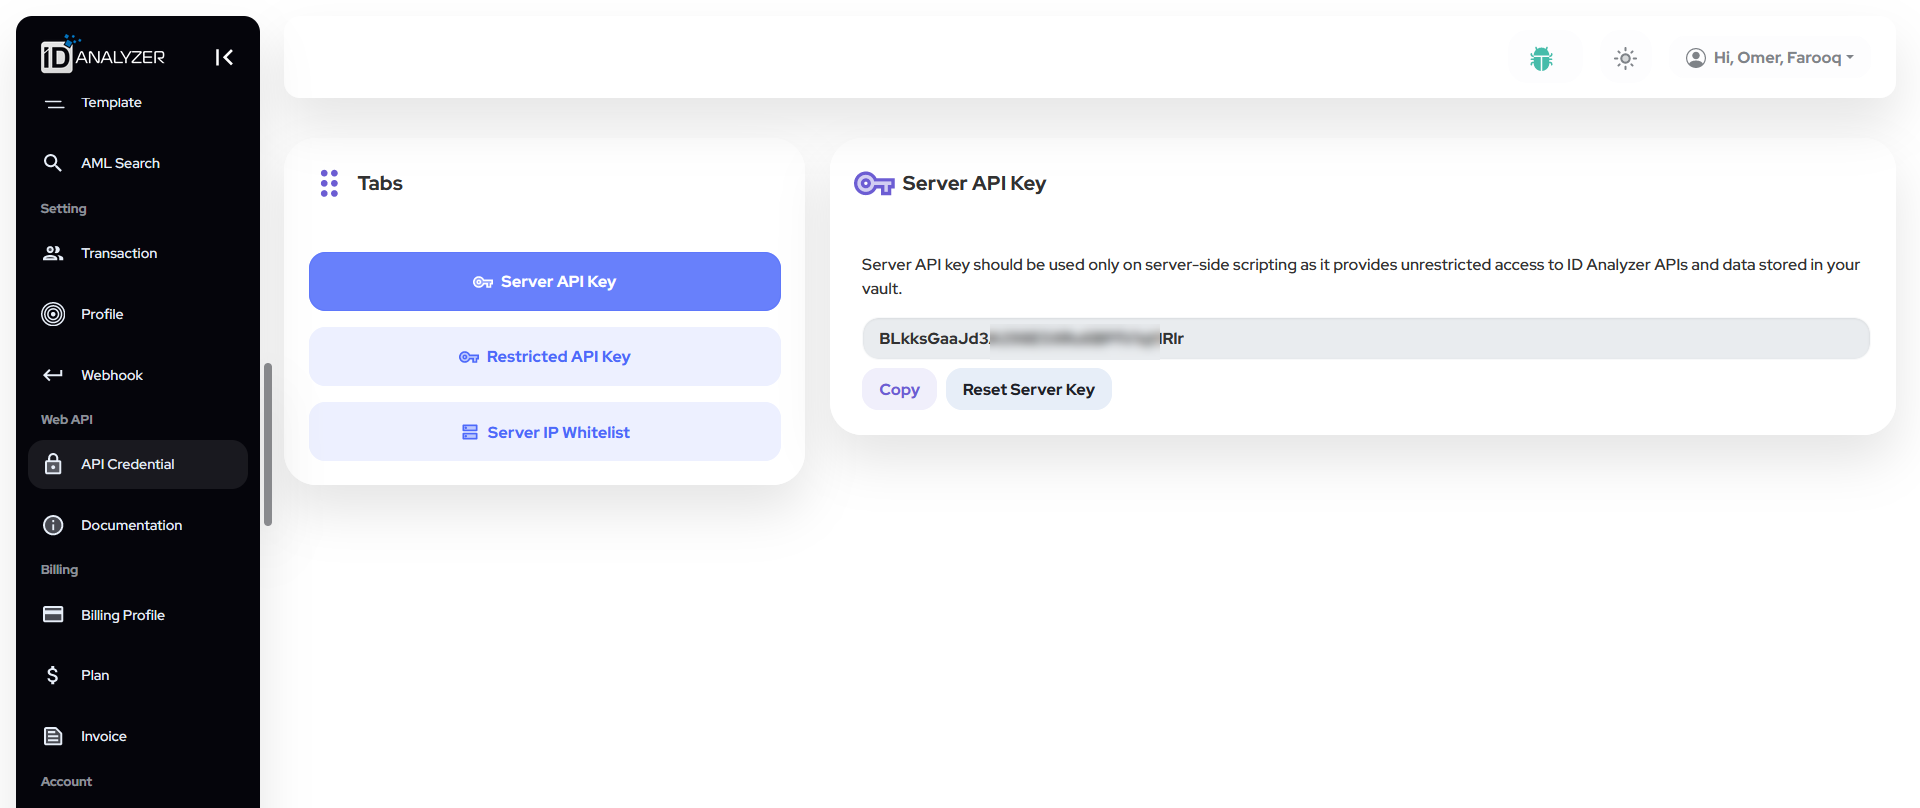
Copy your API key.
Create KYC profile
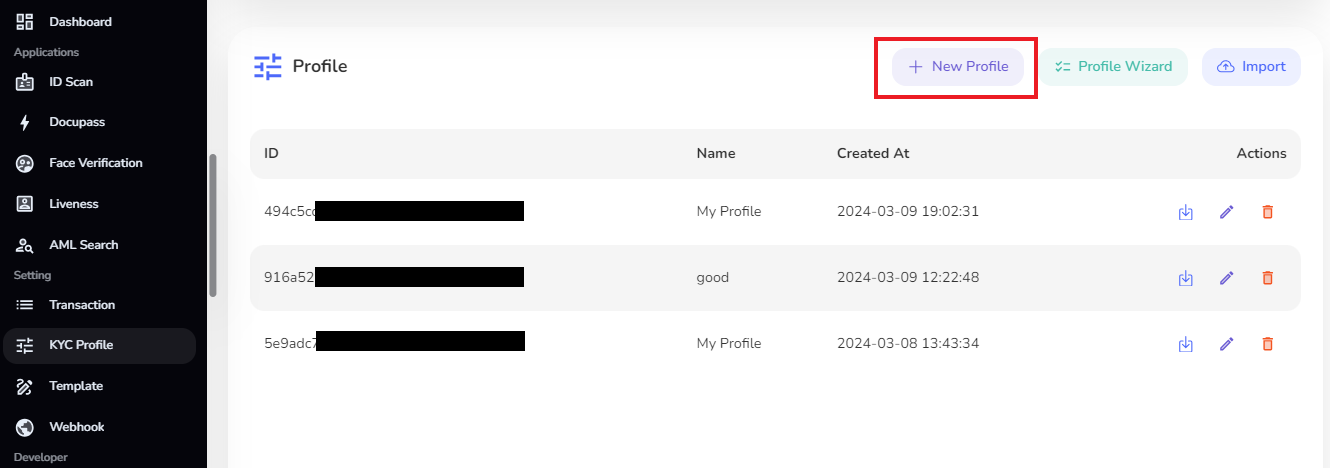
Select the KYC Profile from the left tab and then click on the New Profile.
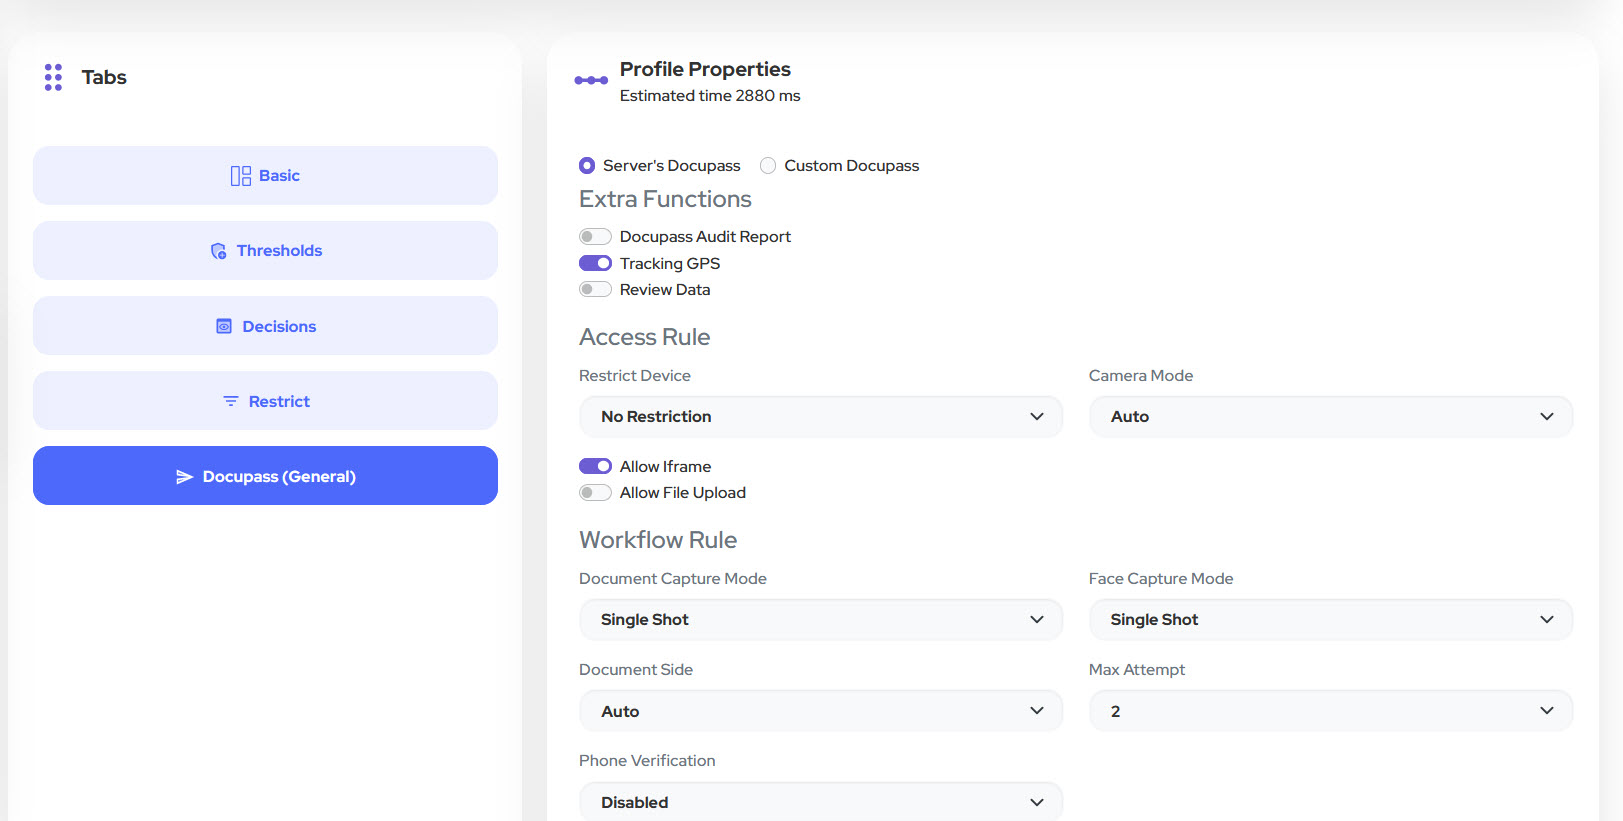
Then click on the Docupass.
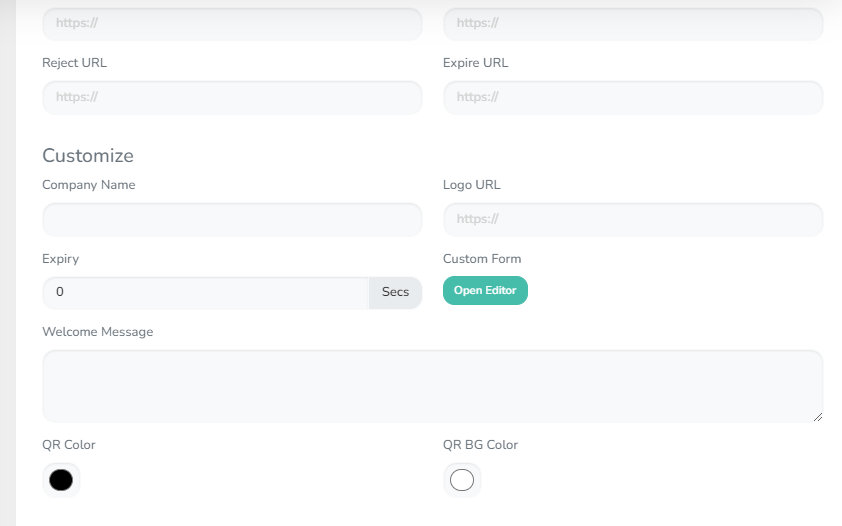
Click on open editor.
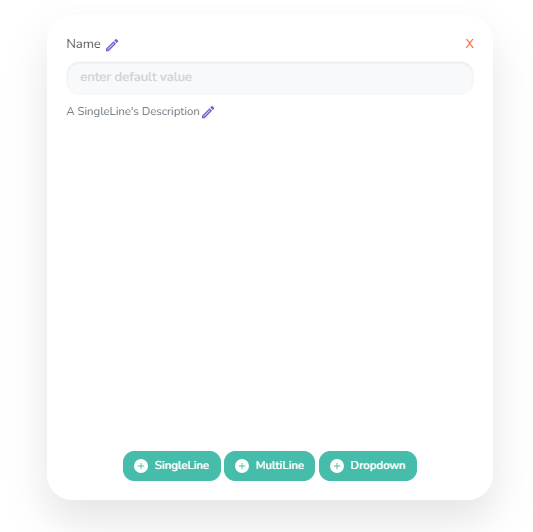
In the editor, you can add fields. Lets add single field by clicking SingleLine. Click on the small pen to edit the label. I edited the label and named it Name. Now click on confirm then click on save to save the form.
Create Template
Again in the left tab, there is option of Templateclick on it and then click on Create.
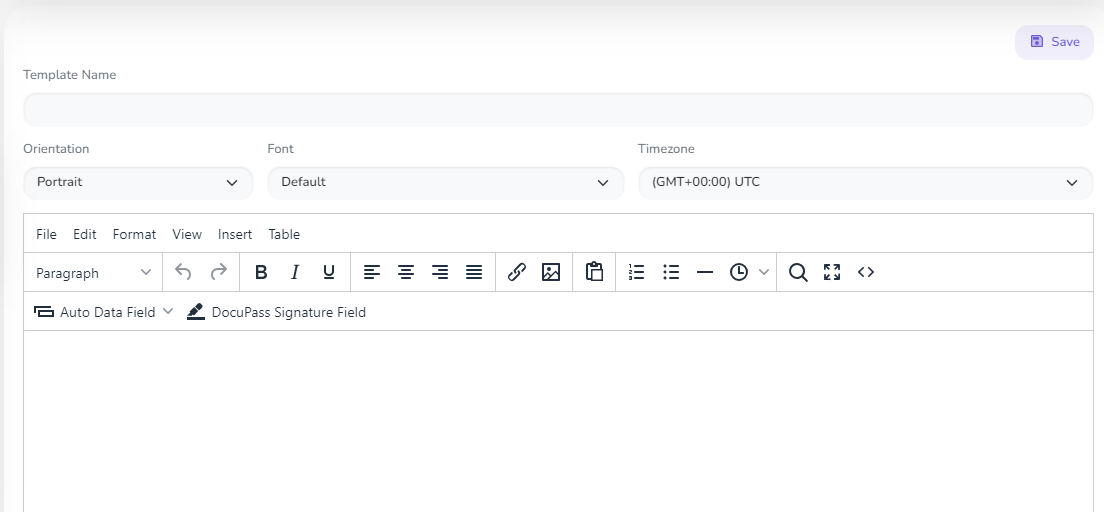
Write the name you would like to give to this template in the Template Name field.
Here you can see DocuPass Signature Field. Click on it and write the label.
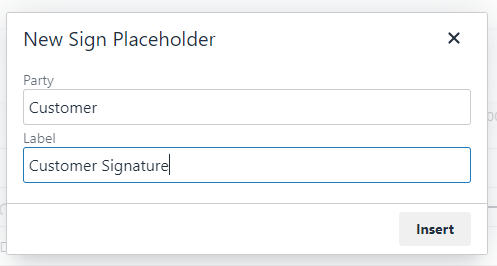
Click on insert to save this. Now you can see the place holder like this:
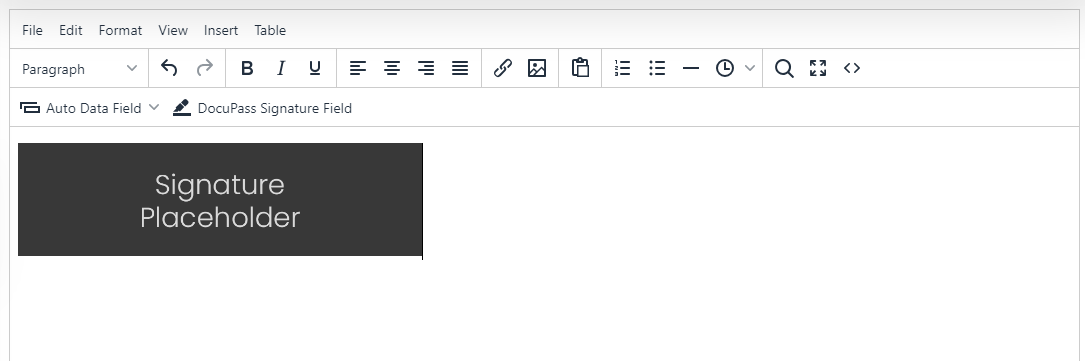
So, your template is ready. Click on save to save it and then copy the template ID. Now we will create the docupass link.
Create Docupass link
Now the KYC profile is created. Copy the ID. Go to the code and in this code paste the KYC profile ID, Template ID and API key.
<?php
require_once('vendor/autoload.php');

$apiKey = "YOUR_API_KEY";

$client = new \GuzzleHttp\Client();

try {
    $response = $client->request('POST', 'https://api2.idanalyzer.com/docupass', [
      'headers' => [
        'X-API-KEY' => $apiKey,
        'accept' => 'application/json',
        'content-type' => 'application/json',
      ],
      'json' => [
        'profile' => 'YOUR_KYC_ID',
        'mode' => '3',
        'reusable' => false,
        'language' => 'en',
        'contractSign' => 'YOUR_TEMPLATE_ID',
      ],
    ]);

    $body = $response->getBody();
    $data = json_decode($body, true);

    if (isset($data['url'])) {
        echo "DocuPass URL: " . $data['url'];
    } else {
        echo "URL not found in the response.";
    }
} catch (\GuzzleHttp\Exception\GuzzleException $e) {
    echo 'Request failed: ' . $e->getMessage();
}
This is the PHP code and require the dependencies. Follow below steps in terminal:
First we need to install composer:
curl -sS https://getcomposer.org/installer | php
Then run this command to install guzzle:
php composer.phar require guzzlehttp/guzzle
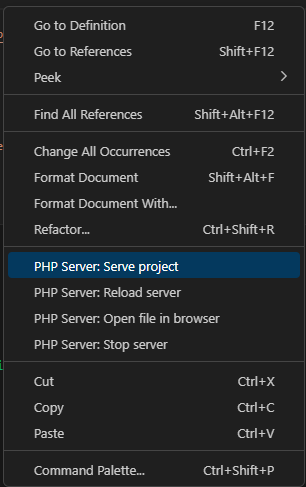
Once the dependencies are installed, now copy the above PHP code and paste it in vscode. Save the code file and right click on it and select the PHP Server: Serve project.
This will open the browser tab with the DocuPass link. Copy this link and paste it in the new tab.

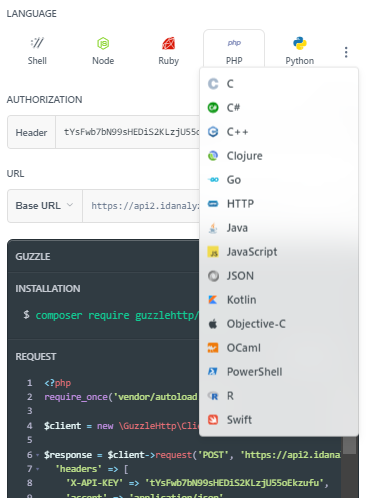
To create DocuPass link, you can directly create it from here, you can write the code in many languages.
This will open identity verification. Click on Start Verification.

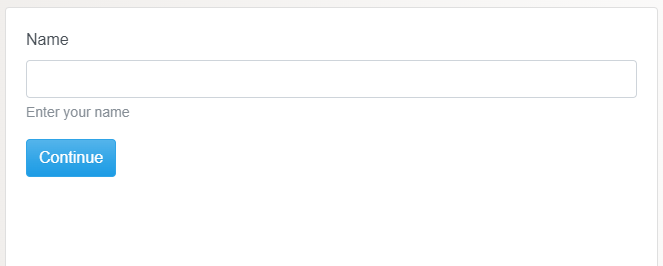
As you can see I have just given the Name field so it is present here. Here customer or any conferned person will enter his/her name. Then click on Continue.
Then the person have to upload ID card.
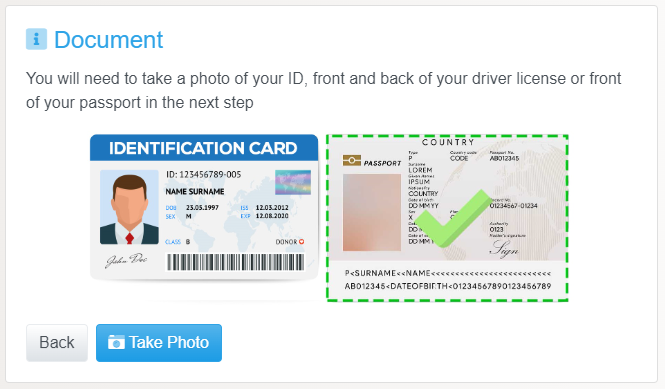
Once the ID card front and back image is uploaded then it will ask for selfie. Click on continue to upload the selfie.

Then it will ask for Signature. This is the signature field which is created in template. Click on it and add your sign.
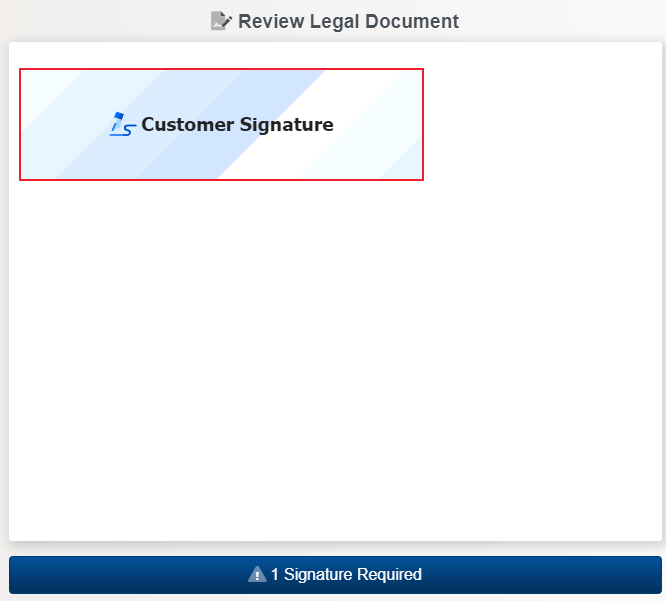
When you click on confirm then the below message appears.

Final Results
Once everything is done, you can now check the dashboard again. Now you can see the Recent Transaction is now updated.
Again in the left side menu, click on the DocuPass. The recent transaction appears here. Click on the small eye icon in the actions column. Here you can review the documents and signature and also you can accept and reject the documents verification.
Updated about 2 years ago